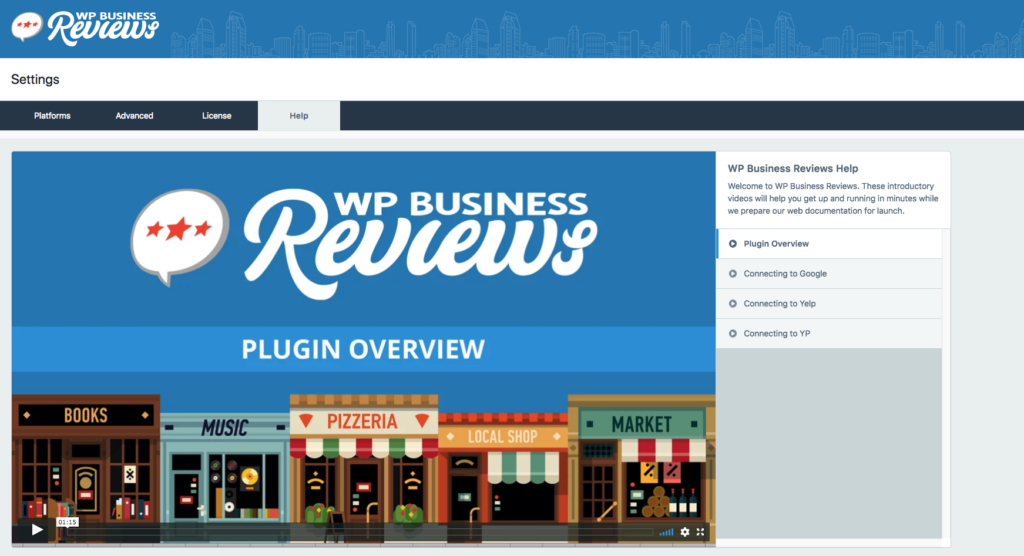
Learn how to put reviews on your website with this video demo and walkthrough. All you need is a WordPress website and WP Business Reviews.
Last week, we showcased WP Business Reviews live on our WordImpress Facebook Page. Below is the recorded broadcast and written recap of how to put reviews on your website.
Start with WordPress and WP Business Reviews
In order to put reviews on your website using this method, you need a WordPress website and the WP Business Reviews Plugin.
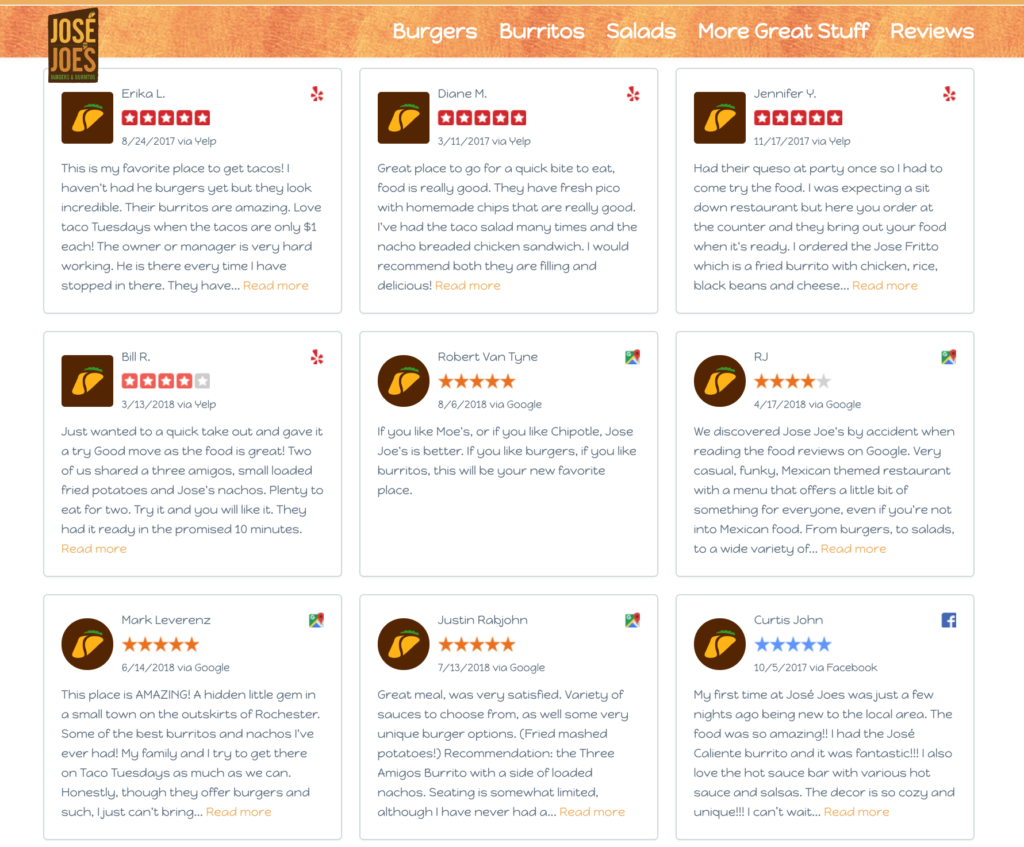
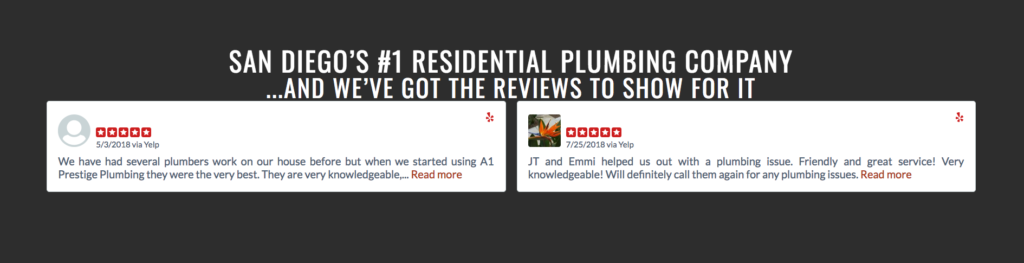
WP Business Reviews may be used in a variety of ways. Below are a few customer examples for a general idea.
To get started, upload the WP Business Reviews plugin to your WordPress website just as you would any other plugin. Once it’s uploaded, activate your license key for WP Business Reviews and enter your API keys/Facebook connection for each review platform.
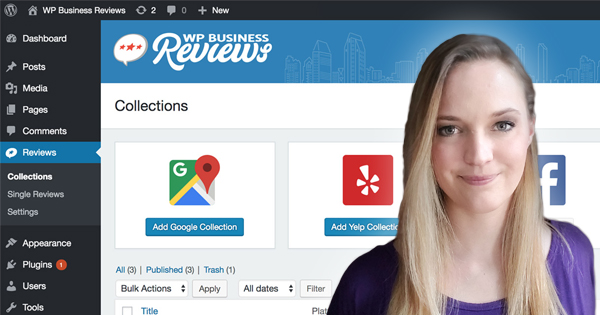
Create Your First Review Collections
Begin by pulling in reviews through the API with the Facebook, Google, and Yelp collections. Using this method allows you to add multiple reviews to your website all at one time. To create a review collection with one of these platforms, navigate to Dashboard > Reviews > Collections and choose a platform to start with.

Once inside the collection builder, search for your business on Google or Yelp, or choose a Facebook Page, and click “Get Reviews.”

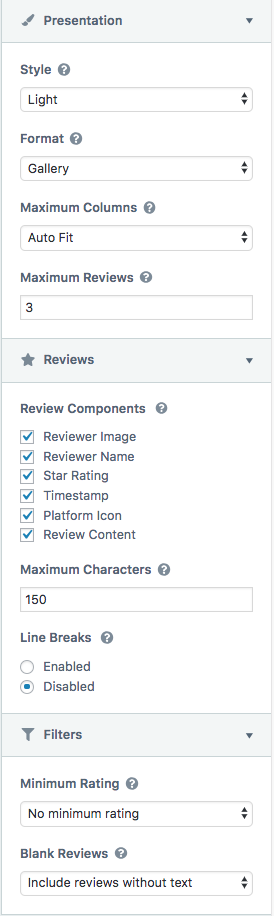
You can fine tune these collections using the Presentation, Review Components, and Filtering features.
Once you have refined each of your platform collections, save them and navigate to Dashboard > Reviews > Single Reviews to find all the single reviews that were just generated through the above process. Any negative reviews that got filtered out are still viewable here.
Add More Reviews with Single Reviews
Once you’ve added reviews from the platforms available, you may wish to add more reviews from those platforms (or other locations) individually. You can do this by navigating to Dashboard > Reviews > Single Reviews > Add Review.
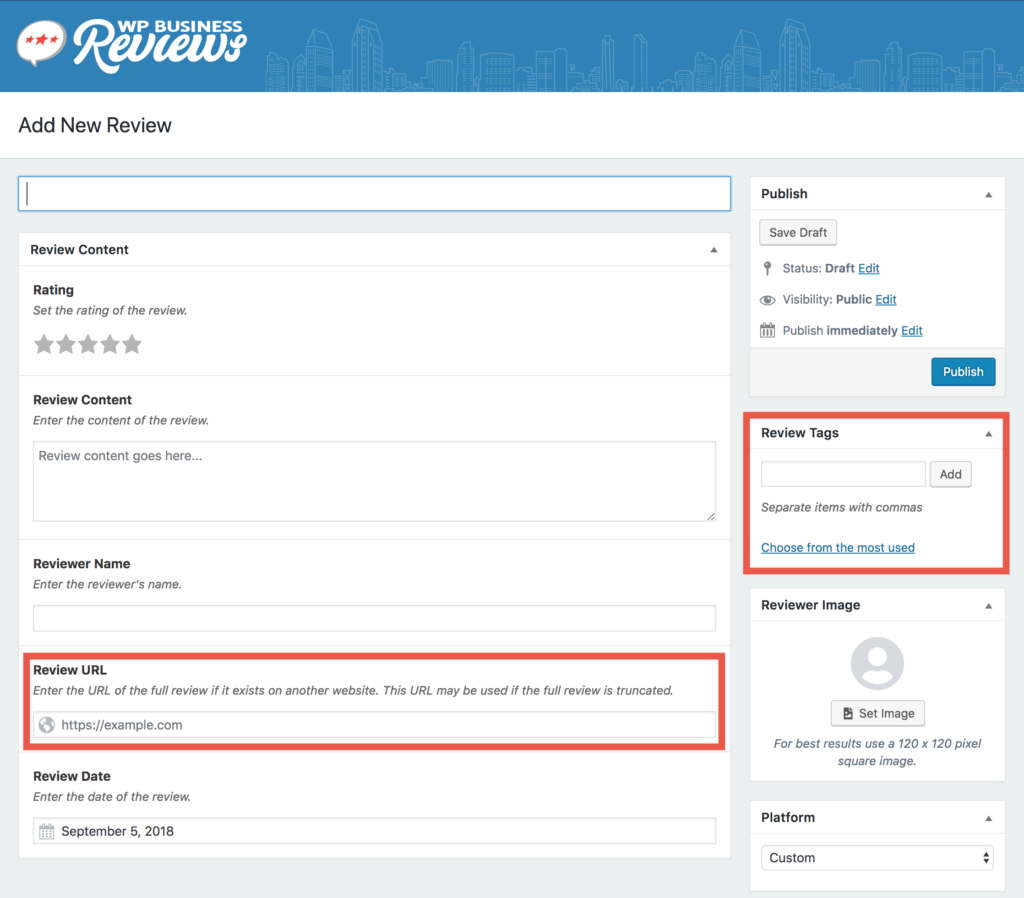
If you choose to input a single review that was not pulled in by one of the platform collections, you can link to the original review using the URL input field. Using this method, you can include reviews and testimonials from any website.
Fine Tune Your Single Reviews
The first thing to do once you have all single reviews input is add tags. Tags are a tool that WordPress uses to sort your posts. We recommend adding a tag to all of your positive reviews so you can use them all together in a massive positive review wall mashup. You can add tags to multiple reviews at once using the bulk edit feature.
If you see bad reviews, mark them all with a negative tag. This is useful if you choose to use your negative reviews anywhere on your site for any reason.
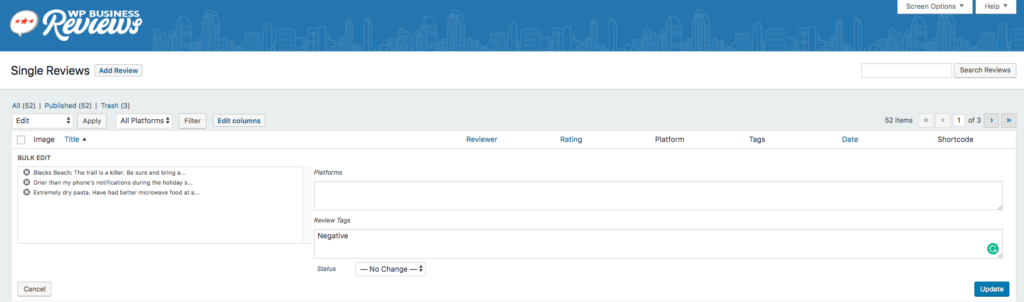
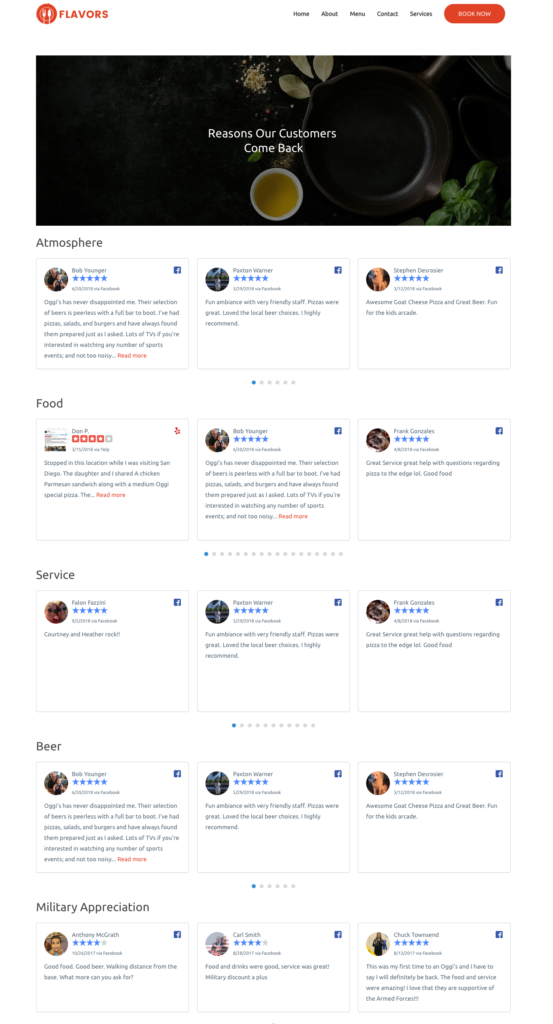
Once you’ve added all bulk tags, go back through each single review and divide them out by key subjects. For example, if you have a restaurant you might want to include tags for service, atmosphere, drinks, and food.

Adding these individual tags may seem tedious at first, but it allows you to create collections based on topics later on. You can even add a tag for each of your servers to create an employee recognition page on your website.
Create Tagged Collections
After you’ve finished setting up all of your single reviews and tags, navigate back to the review collections by going to Dashboard > Reviews > Collections > Add Tagged Collection.
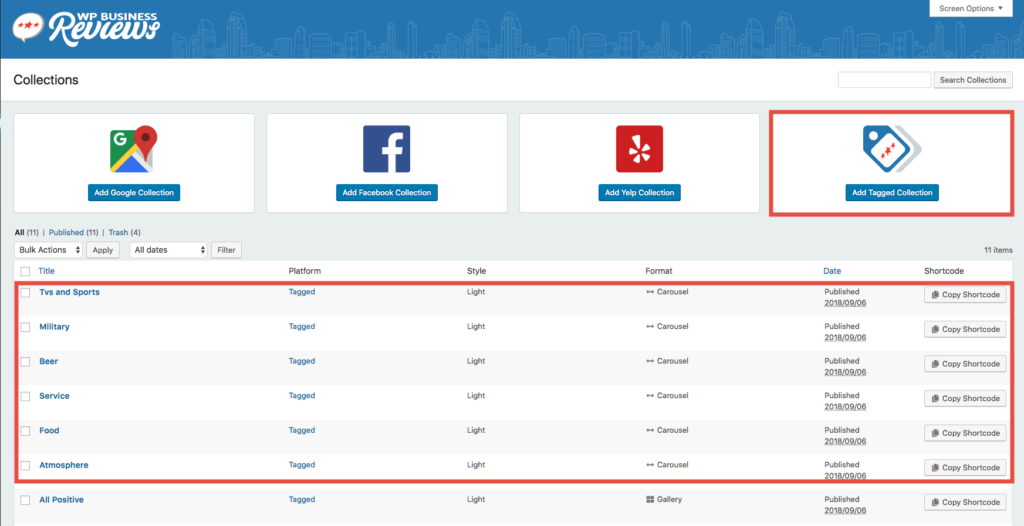
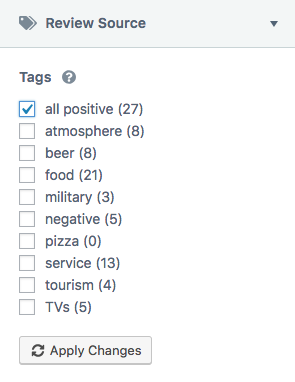
Creating a tagged collection works in the same way as creating a collection from a platform. Instead of searching for your business you will choose a tag to pull in reviews. Once you’ve selected the tag(s) you want to use in this collection, click “Apply Changes” to see the reviews populated in the collection.
Make sure you click save and copy the shortcode.
Use Reviews Shortcodes on Pages and Posts
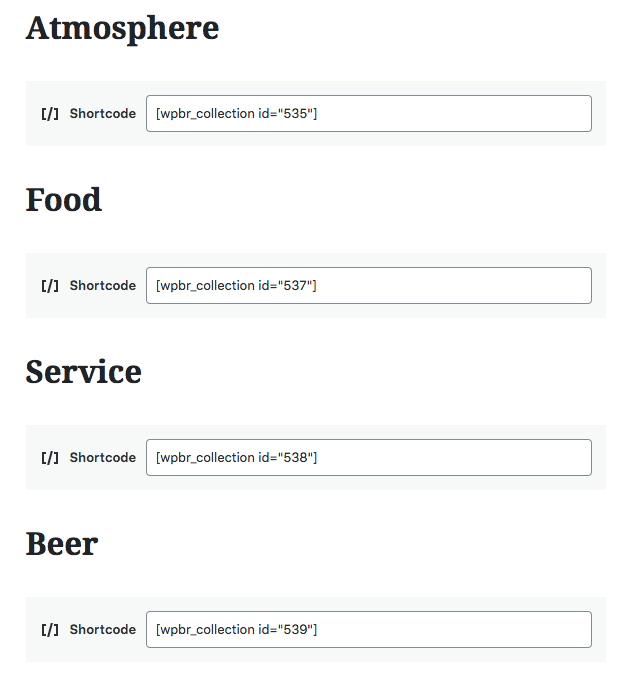
Once your collections are created and your reviews are fine-tuned, you can start displaying your review collections on your website pages, posts, and sidebar widgets using shortcodes. In the examples we show below, we’ve used the Gutenberg editor, but using your shortcodes in the classic editor or a page builder works in the same way.


If you choose to separate your reviews by topic or specific tags, you will need to use multiple shortcodes, one from each collection.
Questions Addressed During the Live Webinar
Attendees of our live webinar had the opportunity to ask questions and get clarification. You can attend our webinars in the future if you’d like to participate as well. Below are a few questions asked during this live session.
How does WP Business Reviews help with your SEO?
WP Business Reviews allows you to put user-generated content that is keyword rich onto your site. Additionally, it in the future, it will provide structured data for search engines to read which boosts your rankings. For more information about reviews and local SEO, take a look at our article on how they go hand in hand.
Is there Gutenberg Support?
At the moment, WP Business Reviews works with Gutenberg using shortcodes. We will be adding a block in the future.
When can you customize the review order?
Our development team is looking at refining this feature, but for now you can use Intuitive Custom Post Order and easily manipulate the order of your reviews.
Is there a limit to the number of Facebook Pages that show through WP Business Reviews?
WP Business Reviews will only show you the first 25 pages that you’re an administrator or editor of. If you have more than 25, then when you connect Facebook to the plugin you will have the opportunity to choose which pages you can see through your dashboard.
When will carousel display be available for tagged collections?
Now! You can create carousel style tagged collections using the presentation settings.
Vote for Our Next Webinar
[caldera_form id=”CF5b970043c9c1e”]